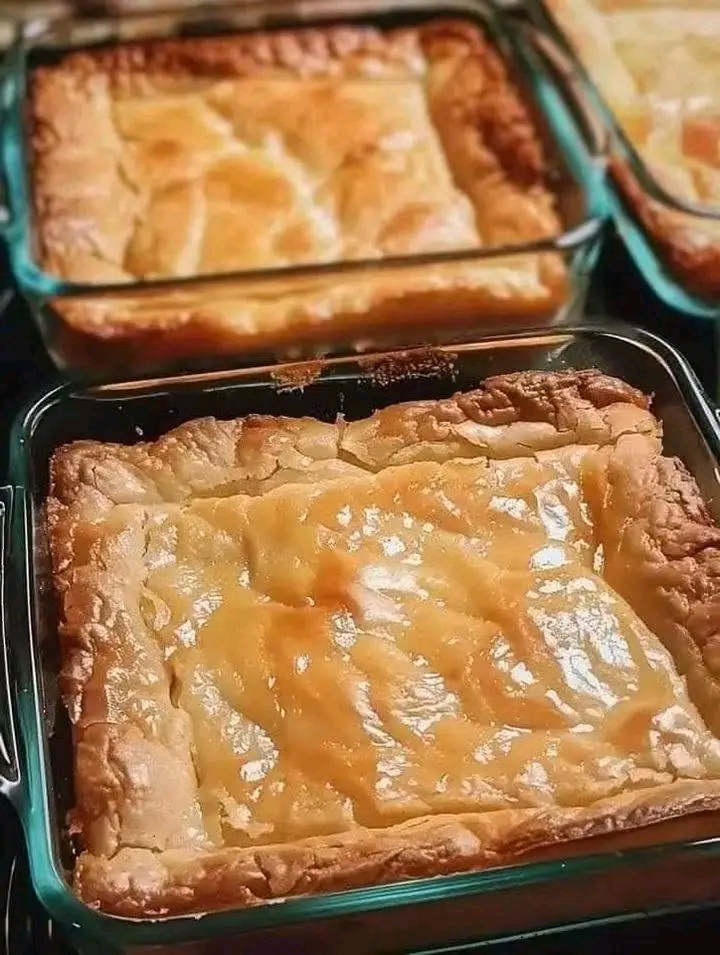
🍫🥜 Easy Chocolate Peanut Butter Crunch Bars
The “Everyone Asks for the Recipe” Homemade Treat
Introduction
Some recipes become family favorites because they are complicated and impressive. Others become favorites because they are ridiculously easy, wonderfully delicious, and impossible to resist.
These Chocolate Peanut Butter Crunch Bars belong to the second category.
They combine a buttery, crunchy base with creamy peanut butter and a smooth chocolate topping. There is no complicated decorating, no fancy equipment, and no difficult baking technique. In fact, this is a wonderful recipe for getting children involved in the kitchen with adult supervision.
The finished bars look like something from a bakery or candy shop, but the ingredients are simple and the preparation is surprisingly easy.
🛒 Ingredients
For the crunchy base
- 2 cups graham cracker crumbs
- 1 cup creamy peanut butter
- 1/2 cup unsalted butter, melted
- 1/2 cup powdered sugar
- 1 teaspoon vanilla extract
- 1/4 teaspoon salt
For the chocolate topping
- 2 cups semi-sweet or milk chocolate chips
- 2 tablespoons creamy peanut butter
- 1 tablespoon butter or coconut oil
- 1/2 teaspoon vanilla extract, optional
Optional toppings
- Chopped peanuts
- Mini chocolate chips
- Flaky sea salt
- Crushed cookies
- Peanut butter chips
- Shredded coconut
- Chocolate sprinkles
🍽️ Equipment
- 8 × 8-inch or 9 × 9-inch square baking pan
- Parchment paper
- Mixing bowls
- Rubber spatula
- Measuring cups and spoons
- Microwave-safe bowl or double boiler
- Sharp knife for cutting
👩🍳 Instructions
Step 1: Prepare the pan
Line your square baking pan with parchment paper, leaving a little extra paper hanging over the sides.
This makes removing the finished bars much easier.
Lightly grease the parchment if desired.
Step 2: Make the peanut butter base
Place the graham cracker crumbs in a large bowl.
Add:
- Melted butter
- Powdered sugar
- Peanut butter
- Vanilla
- Salt
Stir everything together until the mixture becomes thick and evenly combined.
The texture should resemble a soft, slightly crumbly dough.
If it seems extremely dry, add another tablespoon of peanut butter.
If it seems too soft, add a few more graham cracker crumbs.
Step 3: Press into the pan
Transfer the mixture to your prepared pan.
Use the back of a spoon, spatula, or the bottom of a measuring cup to press it firmly and evenly into the pan.
Take your time with this step because a firmly packed base will give you beautiful, neat bars.
Place the pan in the refrigerator for about 15–20 minutes.
🍫 Step 4: Prepare the chocolate topping
Place the chocolate chips, 2 tablespoons of peanut butter, and butter or coconut oil in a microwave-safe bowl.
Microwave in 20–30 second intervals, stirring well after each interval.
Continue until the chocolate is almost completely melted.
Stir until completely smooth.
Add vanilla if desired.
Important:
Do not overheat the chocolate. Gentle heating and frequent stirring will give you a much smoother topping.
🥜 Step 5: Add the chocolate
Remove the chilled peanut butter base from the refrigerator.
Pour the melted chocolate over the top.
Spread it evenly with a spatula.
If you’re using toppings, sprinkle them over the chocolate while it is still soft.
For an especially delicious finish, add a very light sprinkle of flaky sea salt.
❄️ Step 6: Chill
Place the pan in the refrigerator for approximately 1–2 hours, or until the chocolate is firm and the bars are completely set.
You can also chill them overnight.
🔪 Step 7: Cut and serve
Lift the entire slab from the pan using the parchment paper.
Place it on a cutting board.
For cleaner cuts, allow it to sit at room temperature for a few minutes.
Use a sharp knife to cut into squares or rectangles.
Wipe the knife between cuts if you want especially neat edges.
⭐ The Best Method
The secret to these bars is layering and chilling.
First, create a firm peanut butter base. Then chill it briefly so it becomes stable. Next, add the warm chocolate layer and refrigerate everything until firm.
This method creates three wonderful qualities:
Crunchy → creamy → chocolatey
Every bite gives you a satisfying contrast of textures.
👧 Why Kids Love Making Them
This is one of those recipes where children can participate in many of the simple steps.
With adult supervision, kids can:
- Measure ingredients
- Mix the peanut butter base
- Press the mixture into the pan
- Help spread the chocolate
- Add toppings
- Choose how to cut and decorate the finished bars
An adult should handle hot melted butter and chocolate.
📜 A Little History
Peanut butter and chocolate have become one of the world’s most recognizable dessert combinations.
Peanut butter became increasingly popular in North America during the late 19th and early 20th centuries, while chocolate confectionery developed rapidly as chocolate-making technology improved.
The combination became especially beloved because peanut butter contributes a rich, salty, nutty flavor that balances the sweetness of chocolate.
Over time, home cooks transformed the pairing into cookies, candies, brownies, cheesecakes, pies, fudge, bars, and countless no-bake desserts.
Recipes like this one represent the best part of homemade cooking: simple pantry ingredients transformed into something people remember.
🧁 Formation of the Bars
These treats are built in three simple layers.
Layer 1 — Crunchy Peanut Butter Base
Graham cracker crumbs provide structure and a pleasant crunch while peanut butter adds richness and creaminess.
Layer 2 — Creamy Peanut Butter Center
As the mixture chills, the butter and peanut butter firm up, creating a soft but sliceable texture.
Layer 3 — Chocolate Shell
The melted chocolate forms a smooth, rich topping that becomes firm when chilled.
Together, the layers create a homemade candy-bar experience without complicated candy-making techniques.
💡 Helpful Tips
Use good-quality peanut butter
Creamy peanut butter gives the smoothest texture.
Don’t rush the chocolate
Melt it gently and stir frequently.
Chill before cutting
Cold bars are much easier to slice cleanly.
Make them thinner
For smaller party-size treats, use a larger pan and spread the mixture more thinly.
Make them extra rich
Add a thin drizzle of melted peanut butter over the chocolate before chilling.
Add crunch
Mix chopped roasted peanuts into the chocolate topping.
Add salt
A tiny amount of flaky sea salt can make the chocolate flavor stand out beautifully.
🧊 Storage
Store the finished bars in an airtight container.
They can be kept:
- In the refrigerator for about 1 week
- In the freezer for up to 2–3 months
If frozen, allow them to thaw in the refrigerator before serving.
Place parchment between layers if stacking them.
❤️ Why Lovers of This Recipe Keep Making It
Chocolate lovers appreciate the rich topping.
Peanut butter lovers love the creamy, nutty center.
Busy parents love how quickly the recipe comes together.
Kids love helping make it.
And anyone who enjoys homemade sweets will appreciate the fact that the finished bars look far more complicated than they actually are.
That is exactly what makes this recipe so special.
🎉 Perfect Occasions
These bars are wonderful for:
- Birthday parties
- Family gatherings
- Holiday dessert tables
- School events
- Afternoon snacks
- Potlucks
- Bake sales
- Homemade gifts
- Movie nights
- Weekend treats
Cut them into tiny squares for parties or larger rectangles for an indulgent dessert.
🍫 Variations
Chocolate Coconut
Add 1/2 cup shredded coconut to the peanut butter base.
Double Chocolate
Use chocolate graham crackers and a rich chocolate topping.
Salted Peanut
Stir chopped roasted peanuts into the chocolate and finish with flaky sea salt.
Cookie Crunch
Replace part of the graham cracker crumbs with crushed chocolate sandwich cookies.
White Chocolate
Use melted white chocolate for the topping instead of semi-sweet chocolate.
Extra Peanut Butter
Swirl warmed peanut butter across the chocolate before chilling.
🥄 Simple Method at a Glance
1. Line the pan with parchment.
2. Mix graham crumbs, peanut butter, butter, powdered sugar, vanilla, and salt.
3. Press firmly into the pan.
4. Chill for 15–20 minutes.
5. Melt chocolate with peanut butter and butter.
6. Spread chocolate over the base.
7. Add optional toppings.
8. Refrigerate until firm.
9. Lift from the pan.
10. Cut into squares.
11. Serve and watch them disappear!
❤️ Final Conclusion
There are recipes that require hours in the kitchen, dozens of ingredients, and advanced baking skills.
Then there are recipes like these.
A handful of familiar ingredients, a few easy steps, and a little time in the refrigerator can create a dessert that looks beautifully homemade and tastes incredibly indulgent.
The combination of crunchy graham crackers, creamy peanut butter, and smooth chocolate is comforting, nostalgic, and hard to resist.
Make a batch for your family, bring some to a gathering, or wrap a few pieces as a homemade gift.
Just be prepared for one thing:
People will probably ask you to make them again. 🍫🥜❤️
Recipe Card
Prep time: 15 minutes
Chilling time: 1–2 hours
Total time: About 1 hour 30 minutes to 2 hours
Yield: About 16–20 bars
Difficulty: Easy
The verdict: Simple enough for beginners, delicious enough for celebrations, and definitely a recipe worth keeping.