Christmas Mints (Classic Cream Cheese Butter Mints)
Introduction
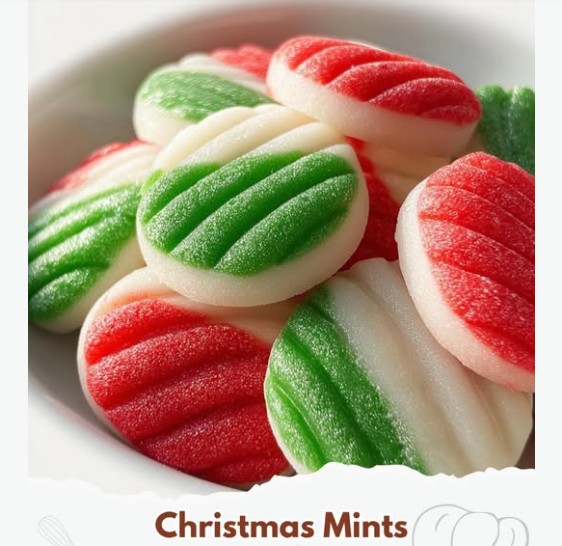
Christmas Mints are a timeless holiday candy—soft, creamy, and lightly sweet with a refreshing peppermint flavor. These melt-in-your-mouth treats are easy to make, require no cooking, and can be shaped into festive designs or kept simple for gift tins and cookie trays. Perfect for Christmas parties, weddings, baby showers, or anytime you want a nostalgic homemade candy, these mints are as versatile as they are charming.
Ingredients
- 8 oz (225 g) cream cheese, softened
- ¼ cup unsalted butter, softened
- 1 teaspoon peppermint extract (adjust to taste)
- 4–5 cups powdered sugar, sifted
- Gel food coloring (red, green, or festive colors, optional)
- Extra powdered sugar for dusting
Equipment Needed
- Large mixing bowl
- Electric mixer or sturdy spoon
- Rubber spatula
- Baking sheets
- Parchment paper or wax paper
- Fork (for classic ridged mints) or small cookie stamps (optional)
Instructions
Step 1: Make the Mint Dough
- In a large bowl, beat cream cheese and butter together until smooth and creamy.
- Mix in peppermint extract.
- Gradually add powdered sugar, 1 cup at a time, mixing until a soft, pliable dough forms.
- The dough should be smooth and not sticky. Add more powdered sugar if needed.
Step 2: Color the Dough (Optional)
- Divide dough into portions if using multiple colors.
- Add a small amount of gel food coloring to each portion.
- Knead gently until color is evenly distributed.
Step 3: Shape the Mints
Classic Fork-Pressed Mints
- Roll dough into ½-inch balls.
- Place on parchment-lined baking sheets.
- Press gently with a fork to create ridges.
Alternative Shapes
- Roll dough into small logs and cut into bite-sized pieces.
- Use silicone molds or cookie stamps for decorative designs.
- Pipe dough with a star tip for a fancy look.
Step 4: Dry the Mints
- Let mints air-dry uncovered at room temperature for 6–12 hours.
- Turn once halfway through for even drying.
- Mints should be firm on the outside and soft inside.
Tips for Best Results
- Use gel food coloring, not liquid, to avoid sticky dough.
- Start with less peppermint extract and add gradually—peppermint is strong.
- Sift powdered sugar to prevent lumps.
- If dough becomes sticky, dust hands lightly with powdered sugar.
- Allow proper drying time for the best texture.
Flavor Variations
- Vanilla or almond extract for non-mint versions.
- Add a drop of wintergreen or spearmint for a twist.
- Divide dough and flavor each portion differently.
- Add a few drops of lemon extract for citrus mints.
Common Mistakes to Avoid
- Adding too much extract, which can overpower the candy.
- Not allowing enough drying time.
- Using warm cream cheese, which makes dough too soft.
- Overhandling the dough, which can make it sticky.
Storage
- Store in an airtight container at room temperature for up to 1 week.
- Refrigerate for up to 2 weeks.
- Freeze for up to 2 months; thaw at room temperature before serving.
Gift-Giving Ideas
- Package in decorative tins or cellophane bags.
- Layer with parchment paper between colors.
- Add to Christmas cookie trays or dessert boards.
Serving Suggestions
- Serve alongside cookies and fudge.
- Pair with coffee, tea, or hot chocolate.
- Use as edible décor on holiday dessert tables.
Final Thoughts
Christmas Mints are a simple yet elegant homemade candy that brings old-fashioned holiday charm to any celebration. Their creamy texture, refreshing flavor, and customizable colors make them a favorite year after year. Whether made for gifting or family traditions, these mints are guaranteed to spread holiday cheer.