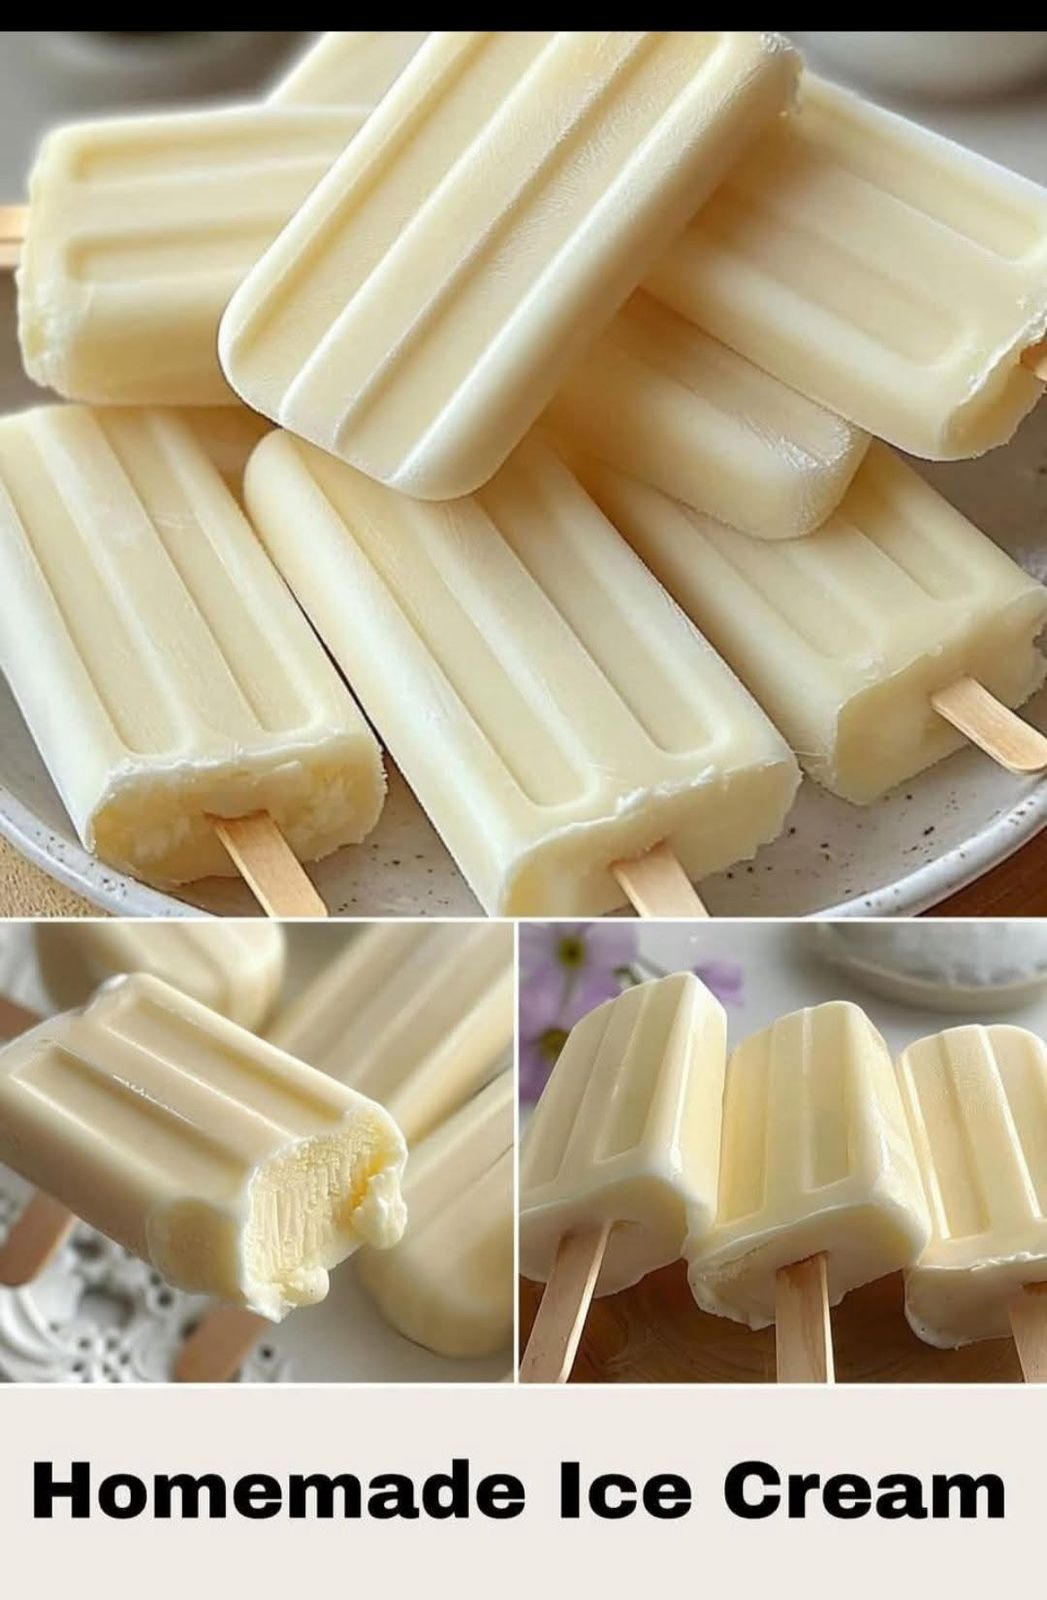
🍦 Homemade Ice Cream Recipe – Ultra Creamy & Easy (No Ice Cream Maker Needed!)
You won’t believe how smooth and creamy this homemade ice cream turns out—with no eggs, no fancy machine, and no hard-to-find ingredients. If you’re craving a refreshing treat that feels indulgent but is incredibly easy to make, this recipe will become your new favorite.
Best part? It’s perfect for the whole family and customizable with your favorite flavors and mix-ins!
🛒 Ingredients – Simple, Clean & Delicious
Here’s what you’ll need:
- 160g heavy whipping cream (at least 30% fat for that rich, velvety texture)
- 200g whole milk – adds lightness and balance
- 35g milk powder – this secret ingredient gives the ice cream body and extra creaminess
- 15g granulated sugar – feel free to adjust to taste
- 10g sweetened condensed milk – enhances richness and adds that luscious mouthfeel
- 10g cornstarch – thickens the base and prevents icy texture
- 2g vanilla extract – for that classic ice cream aroma
📝 Optional Add-ins:
- Mini chocolate chips 🍫
- Cookie crumbles 🍪
- Chopped nuts 🥜
- Berries or fruit puree 🍓
- Caramel or fudge swirls 🍮
👩🍳 Step-by-Step Instructions – Foolproof & Family-Friendly
🔹 Step 1: Make Your Creamy Base
In a medium saucepan, combine the whipping cream, milk, milk powder, sugar, and condensed milk. Mix everything well using a whisk until the ingredients are fully dissolved and smooth.
🔍 Pro Tip: Warm the milk slightly before mixing for easier blending.
🔹 Step 2: Heat & Thicken the Mixture
Place the pan on low heat and start stirring gently. After 2–3 minutes, slowly add the cornstarch and keep stirring constantly to prevent lumps. Continue cooking until the mixture thickens to a custard-like consistency. This should take around 5–7 minutes.
❗ Do not boil! Low and slow is key to preventing burning or curdling.
🔹 Step 3: Add Vanilla
Once the mixture is thick and smooth, remove it from the heat and stir in your vanilla extract. This gives it that lovely, warm ice cream flavor everyone loves.
🔹 Step 4: Cool It Down
Allow the mixture to cool to room temperature. To speed up the process, place the pot over a bowl of ice water and stir gently.
🧊 Optional: Strain the mixture through a fine mesh sieve if you want a super smooth base.
🔹 Step 5: Pour & Freeze
Once cool, pour the mixture into ice cream molds, popsicle molds, or a freezer-safe container. Cover with plastic wrap (press it directly onto the surface to prevent ice crystals).
Freeze for at least 4 hours, or ideally overnight, until completely set.
🧁 Tip: If using a container instead of molds, you can scoop it later just like store-bought ice cream.
💡 Ideas for Flavors & Mix-Ins
This base is super versatile! Try these variations:
- Chocolate: Add 2 tablespoons of cocoa powder when mixing.
- Strawberry: Blend fresh strawberries and swirl them into the mixture before freezing.
- Cookies & Cream: Fold in crushed Oreos before pouring into molds.
- Nutty Delight: Add chopped pistachios or roasted almonds.
- Coffee Lovers: Stir in 1 tsp of instant coffee for mocha magic.
🍽️ Serving Suggestions
- Serve in waffle cones or bowls 🍨
- Top with chocolate sauce, sprinkles, or whipped cream
- Pair with warm brownies or fruit pies
- Add a scoop to iced coffee for a DIY affogato ☕
- Let the kids decorate their own with fun toppings
💬 Final Thoughts
This homemade ice cream is rich, creamy, and surprisingly easy. Once you try it, you’ll skip the store-bought tubs for good! You can make it on a lazy weekend afternoon or prep ahead for parties, BBQs, or family movie nights.