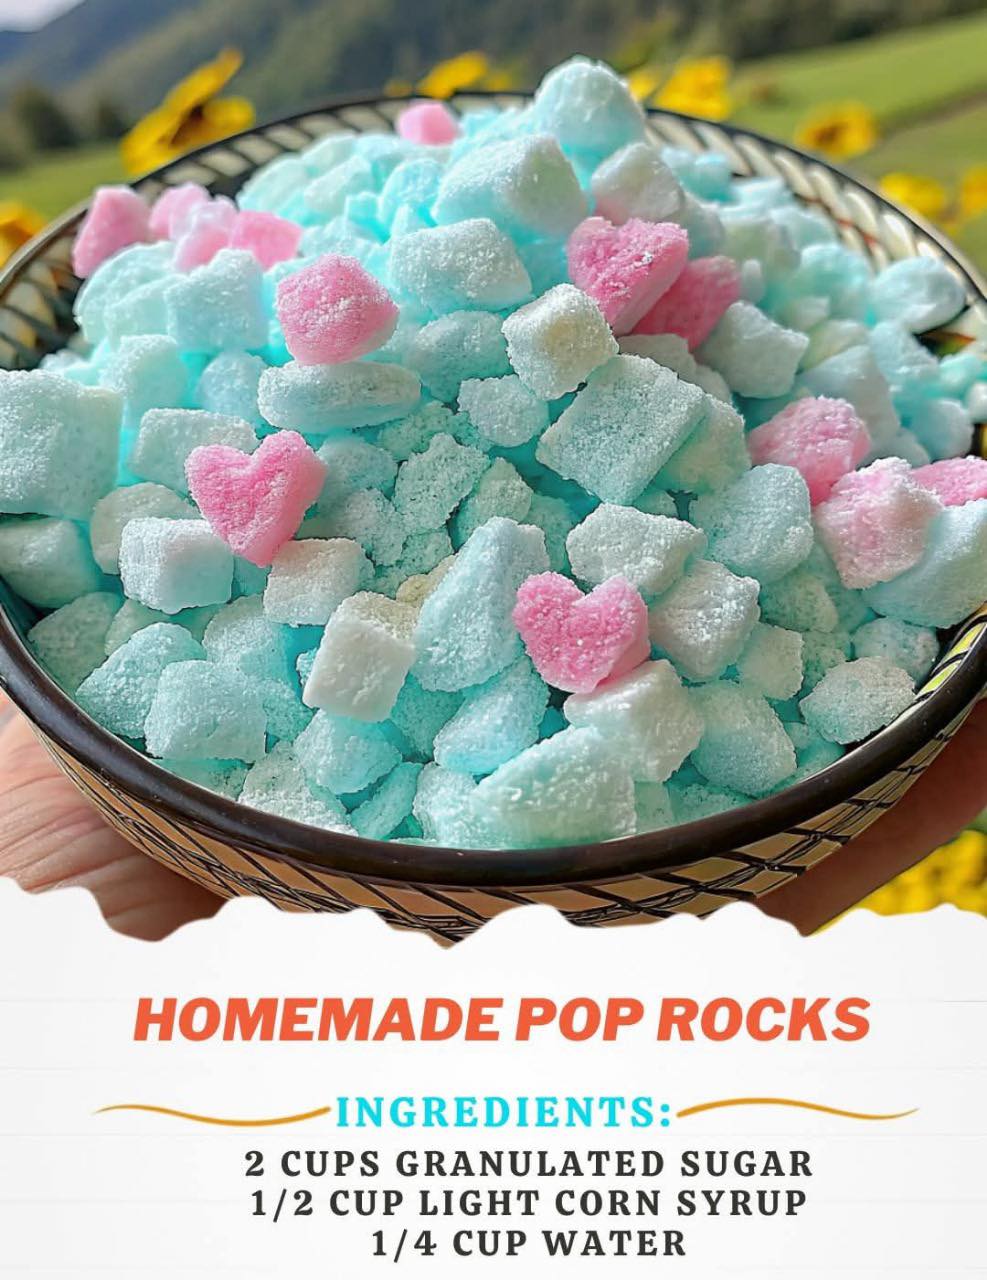
Homemade Pop Rocks: Fizzy, Fun, and Surprisingly Simple 🍬✨
Introduction
Turn your kitchen into a candy lab with this Homemade Pop Rocks recipe! These fizzy, crackling candies are a blast to make and even more fun to eat. With just a handful of ingredients, a candy thermometer, and a little creativity, you can recreate the nostalgic magic of Pop Rocks at home. Whether you’re making them for a party, gifting them in little bags, or just geeking out on kitchen science, this recipe delivers a sweet, tangy, and explosive experience.
Ingredients (Yields about 2 cups of candy)
- 2 cups granulated sugar
- ½ cup light corn syrup
- ¼ cup water
- 1 teaspoon baking soda
- ¼ cup citric acid plus 1 teaspoon for coating
- 1 teaspoon flavoring extract (e.g., strawberry, orange, watermelon)
- 3–4 drops food coloring (optional)
- Powdered sugar or cornstarch (for dusting)
Tools You’ll Need
- Candy thermometer
- Medium saucepan
- Baking sheet
- Parchment paper or silicone mat
- Wooden spoon or heat-safe spatula
Step-by-Step Instructions
- Prepare Your Surface
Lightly dust a parchment-lined baking sheet with powdered sugar or cornstarch to prevent sticking. - Make the Candy Base
In a medium saucepan over medium heat, combine the sugar, corn syrup, and water. Stir gently until the sugar completely dissolves and the mixture is smooth. - Heat to Hard Crack Stage
Attach a candy thermometer to the side of the pan (make sure it doesn’t touch the bottom). Let the mixture heat undisturbed until it reaches 300°F (149°C) — this is the hard crack stage. - Add the Pop
Immediately remove from heat. Quickly stir in the baking soda and ¼ cup citric acid. The mixture will bubble and expand — this is what gives the candy its airy texture! - Add Flavor & Color
Stir in your chosen flavor extract and food coloring if using. Mix thoroughly but quickly, as the mixture starts to harden fast. - Pour & Cool
Pour the bubbling mixture onto your prepared baking sheet and spread it out evenly. Let it cool completely for at least 30 minutes. - Break Into Pieces
Once hardened, break the candy into small bite-sized shards. Sprinkle with 1 teaspoon of citric acid and toss to coat for that signature tang.
Tips for Success
- Humidity Warning: Avoid making this candy on humid days — moisture prevents it from crisping properly.
- Be Quick with Add-Ins: Candy hardens fast, so have all your ingredients ready to mix in as soon as it’s off the heat.
- Flavor Variations: Try cherry, raspberry, lemon, or even bubblegum extract for different effects.
- Color Fun: Match the food coloring to the flavor for visual flair (e.g., red for strawberry, blue for blueberry).
- Less Tangy?: Use only 2 tablespoons of citric acid if you prefer a milder fizz.
- Storage Matters: Store in an airtight container in a cool, dry place to keep that crackly texture.
Nutritional Information (approx. per tablespoon serving)
- Calories: 95
- Total Fat: 0g
- Carbohydrates: 25g
- Sugars: 25g
- Sodium: 10mg
- Protein: 0g
Note: This is a sugar-based treat, so enjoy in moderation — it’s all about the fun!
Fun Fact
Pop Rocks work by trapping carbon dioxide gas in hardened sugar — when the candy melts in your mouth, the gas is released, creating the iconic popping sensation!
Storage & Shelf Life
- Room Temp: Store in an airtight container away from heat and moisture for up to 1 month.
- No Fridge Needed: Refrigeration introduces humidity, which can ruin the texture.
- Gifting Tip: Store in small jars or cellophane bags with moisture absorbers for cute party favors or DIY gifts.
Homemade Pop Rocks are a fun mix of science and sweetness that bring a smile to every face — young or old. Whether you’re impressing guests or just satisfying a childhood craving, this fizzy treat is guaranteed to be a blast!
